Skip to content

Interior visualisation

Show the room as it could be.

Stage empty interiors, restyle furnished ones, replace surfaces and turn stills into walkthroughs. Minutes, not days — with the architecture left exactly where it is.

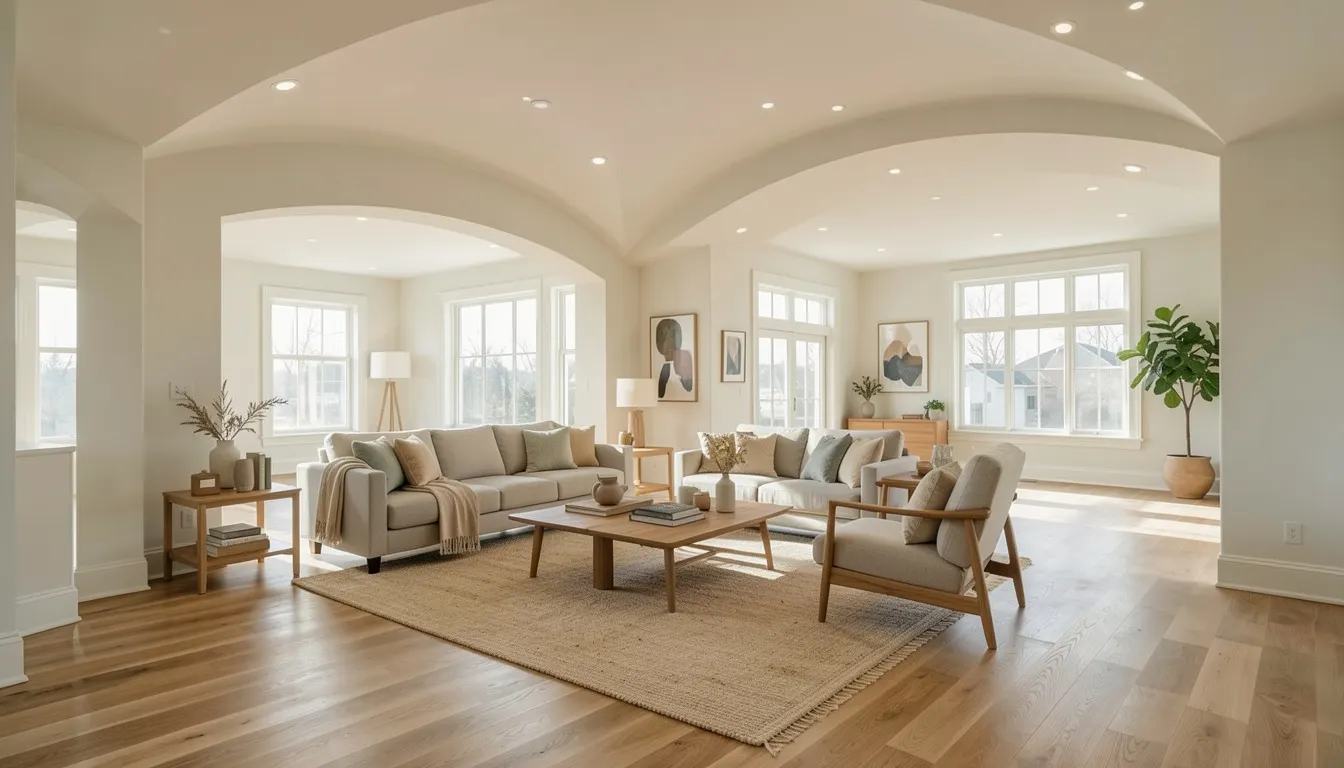
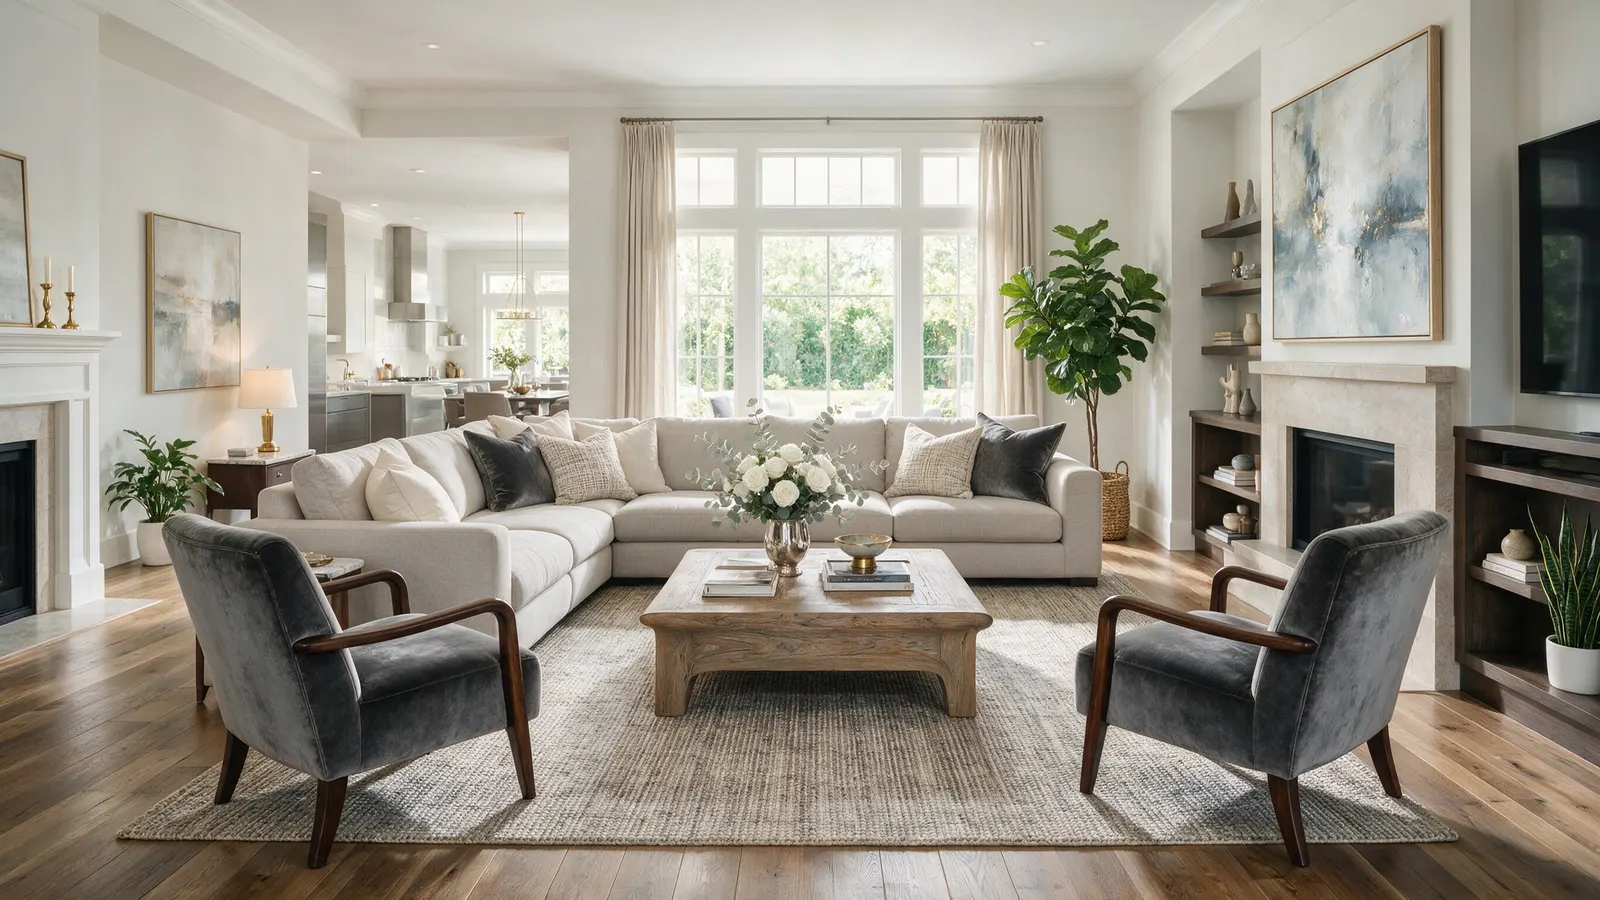
The same room furnished, photographed from the same positionAfter
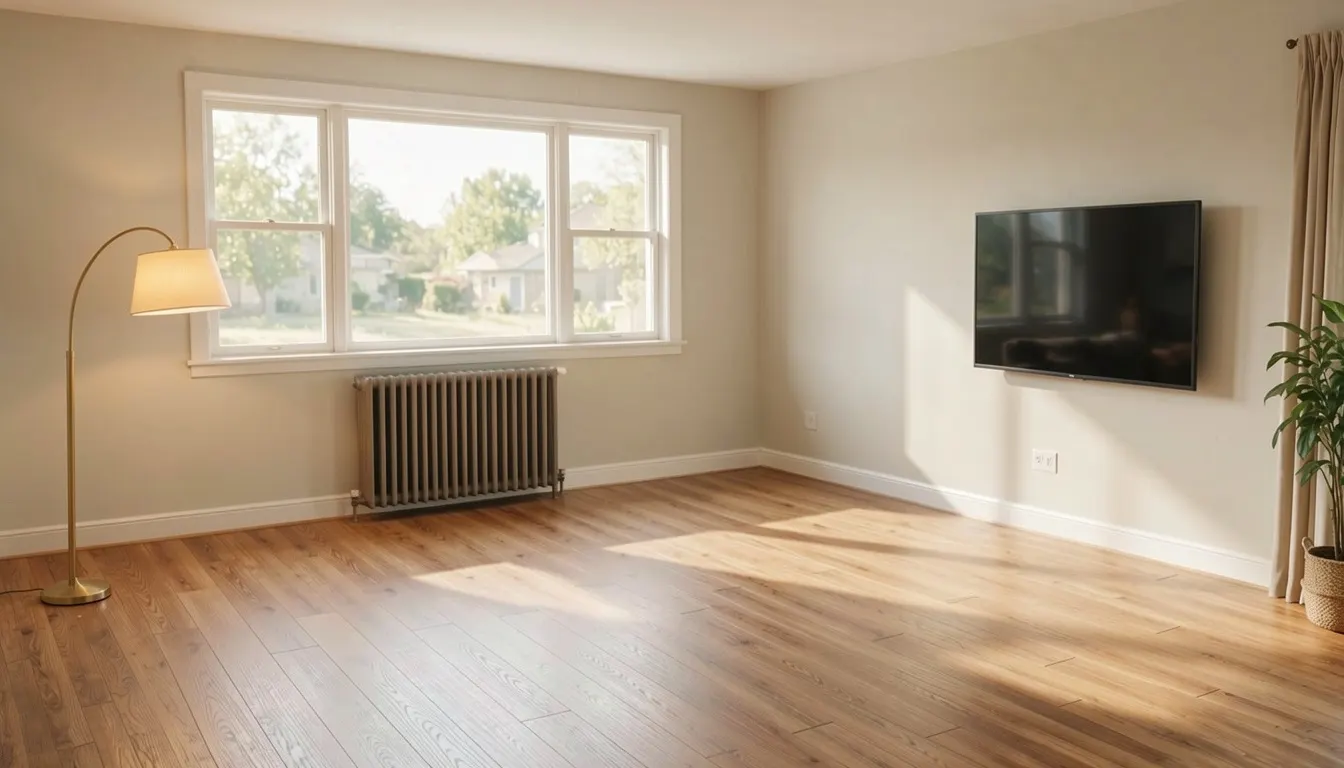
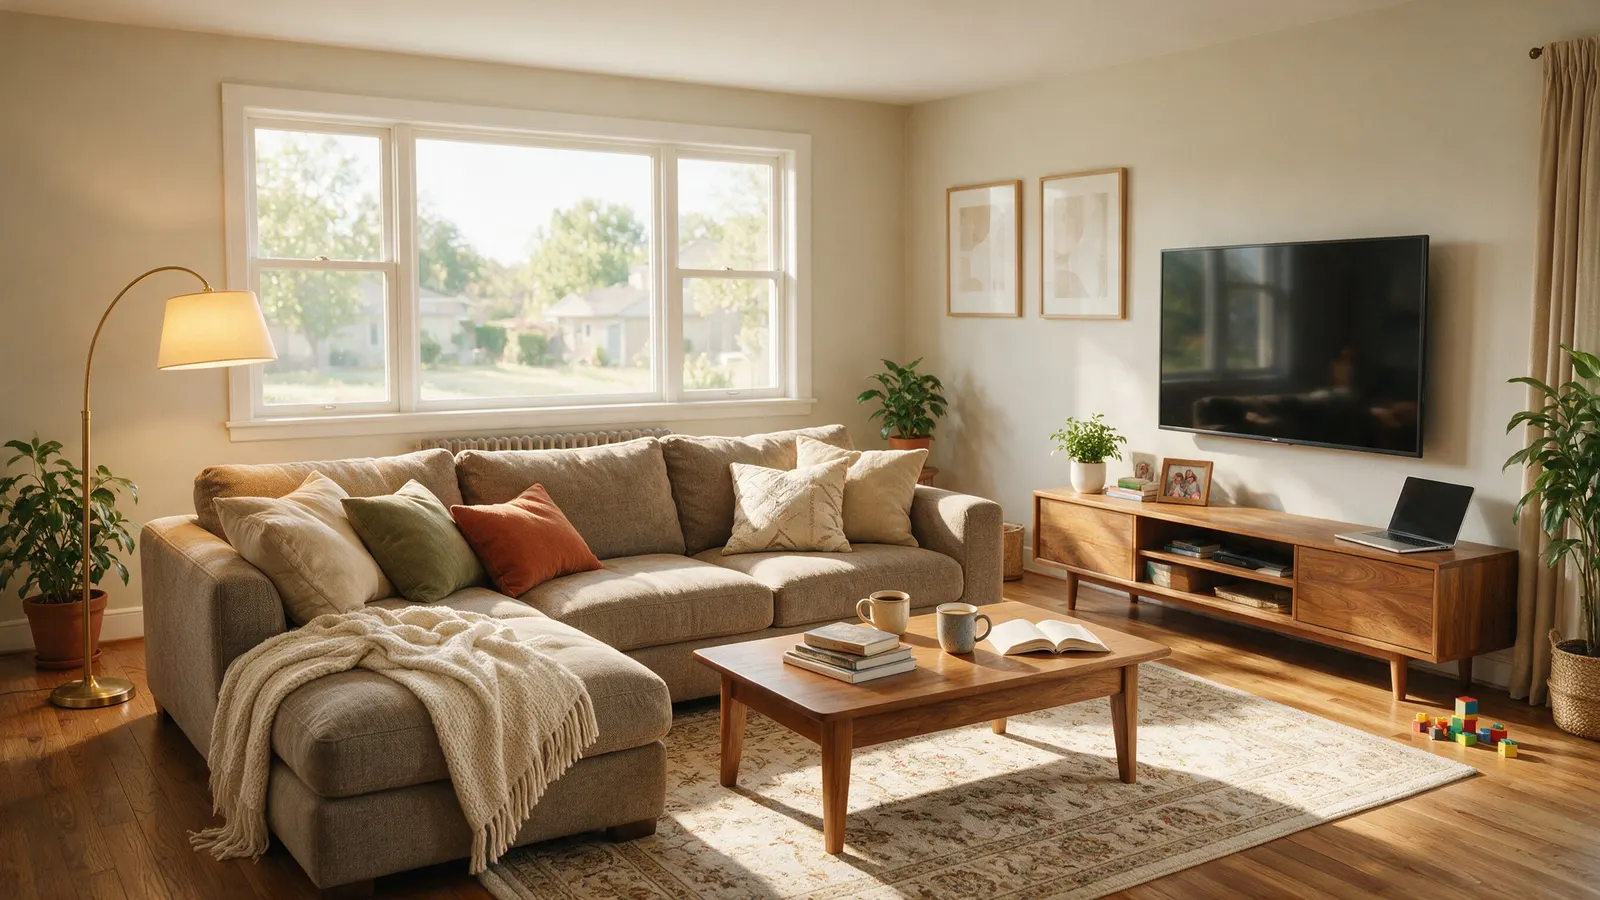
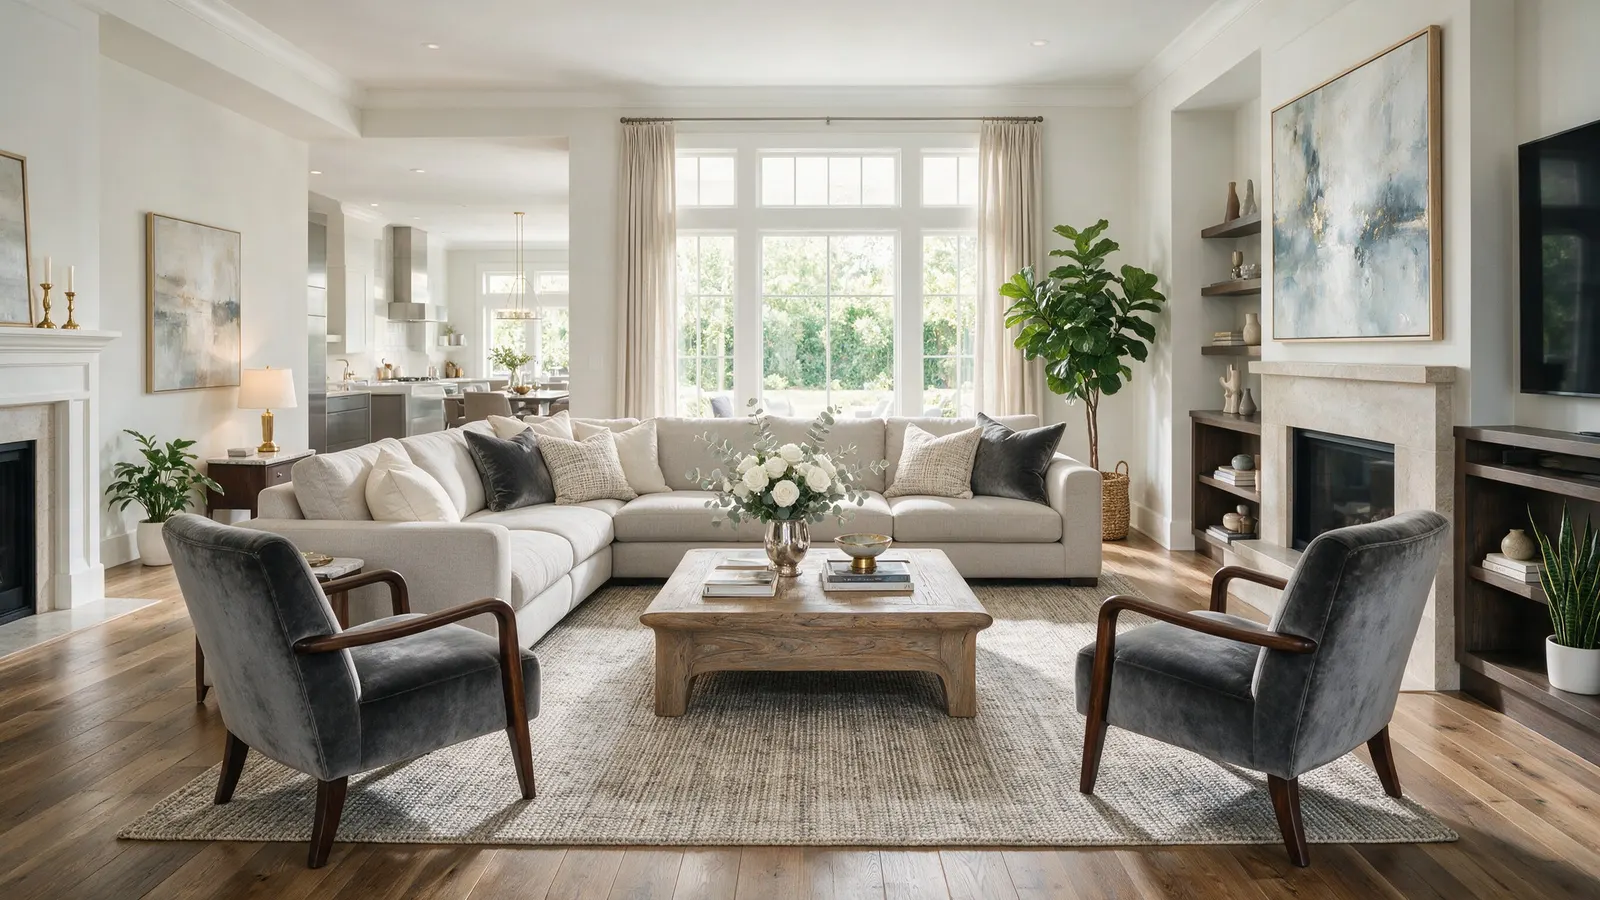
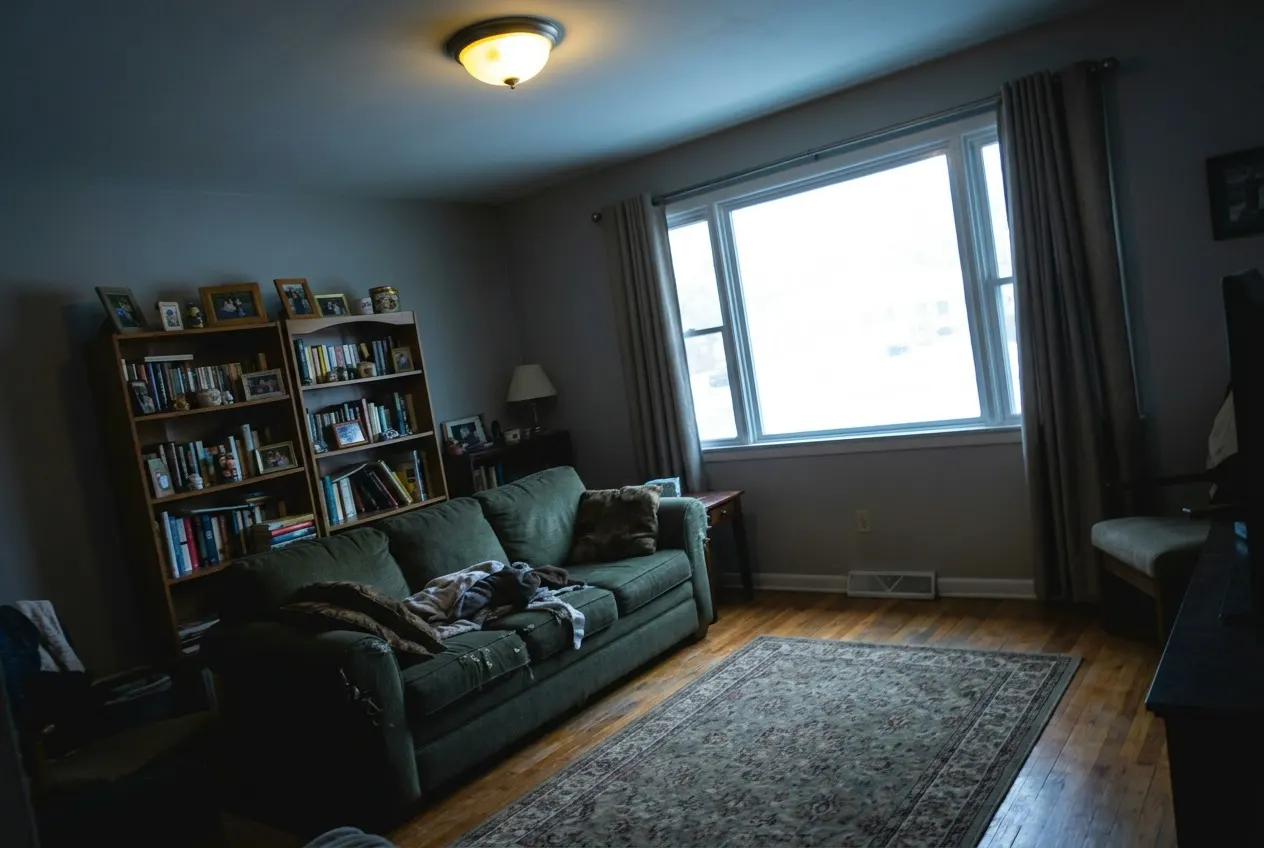
An empty living room with a coffered ceiling, marble chimney breast and dark timber built-insBefore

Drag to compare · An empty living room, furnished at 4K. Walls, windows and camera untouched.

Typical render
14s

Typical render

Operations
31

Operations

Print-ready output
4K

Print-ready output

Start to finish

One sentence, one photograph, one room.

A style transfer, filmed on the phone it was done on — nothing here is a diagram of the product, it is a recording of it. Scroll to run the job.

  1. 01Ask

    Say what the room should become, in the words you would use with a colleague. There is no prompt language to learn.

  2. 02Capture

    Turn the phone. One handheld shot of the room you are already standing in — no tripod, no bracketing, no site visit.

  3. 03Send

    It reads the photograph, works out which operations deliver the sentence, and shows the price before anything runs.

  4. 04Deliver

    Two credits. Fourteen seconds. Walls, windows and camera exactly where the phone found them.

Screen recordings from the shipped mobile web app; plate photographed on the same device

The same room

Drag it, and check the architecture.

The frame the phone captured, and the frame it came back with. Every wall, window, beam and sightline is where it was — only the room’s language changed.

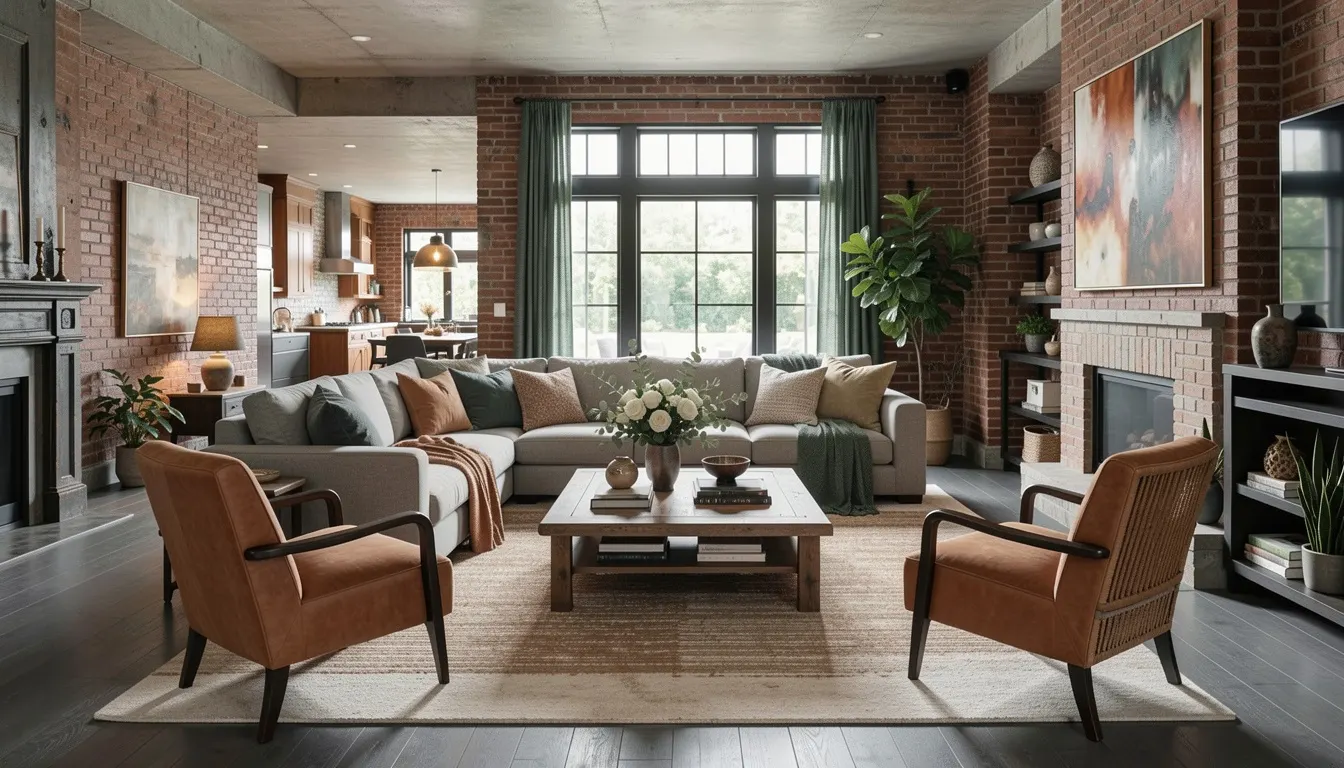
After style transfer: A furnished room argued in a different language, from the same viewpoint.Style Transfer
Before: A furnished room argued in a different language, from the same viewpoint.Photograph
A furnished room argued in a different language, from the same viewpoint.2c

Results

The same room, argued differently.

Every frame below came out of this product, and every one of them is a comparison you can drag. The operation and what it cost are named under each.

After furniture removal: Everything the last owner left, gone — and the room still fits together.After
Before: Everything the last owner left, gone — and the room still fits together.Before
Furniture Removal2c

Everything the last owner left, gone — and the room still fits together.

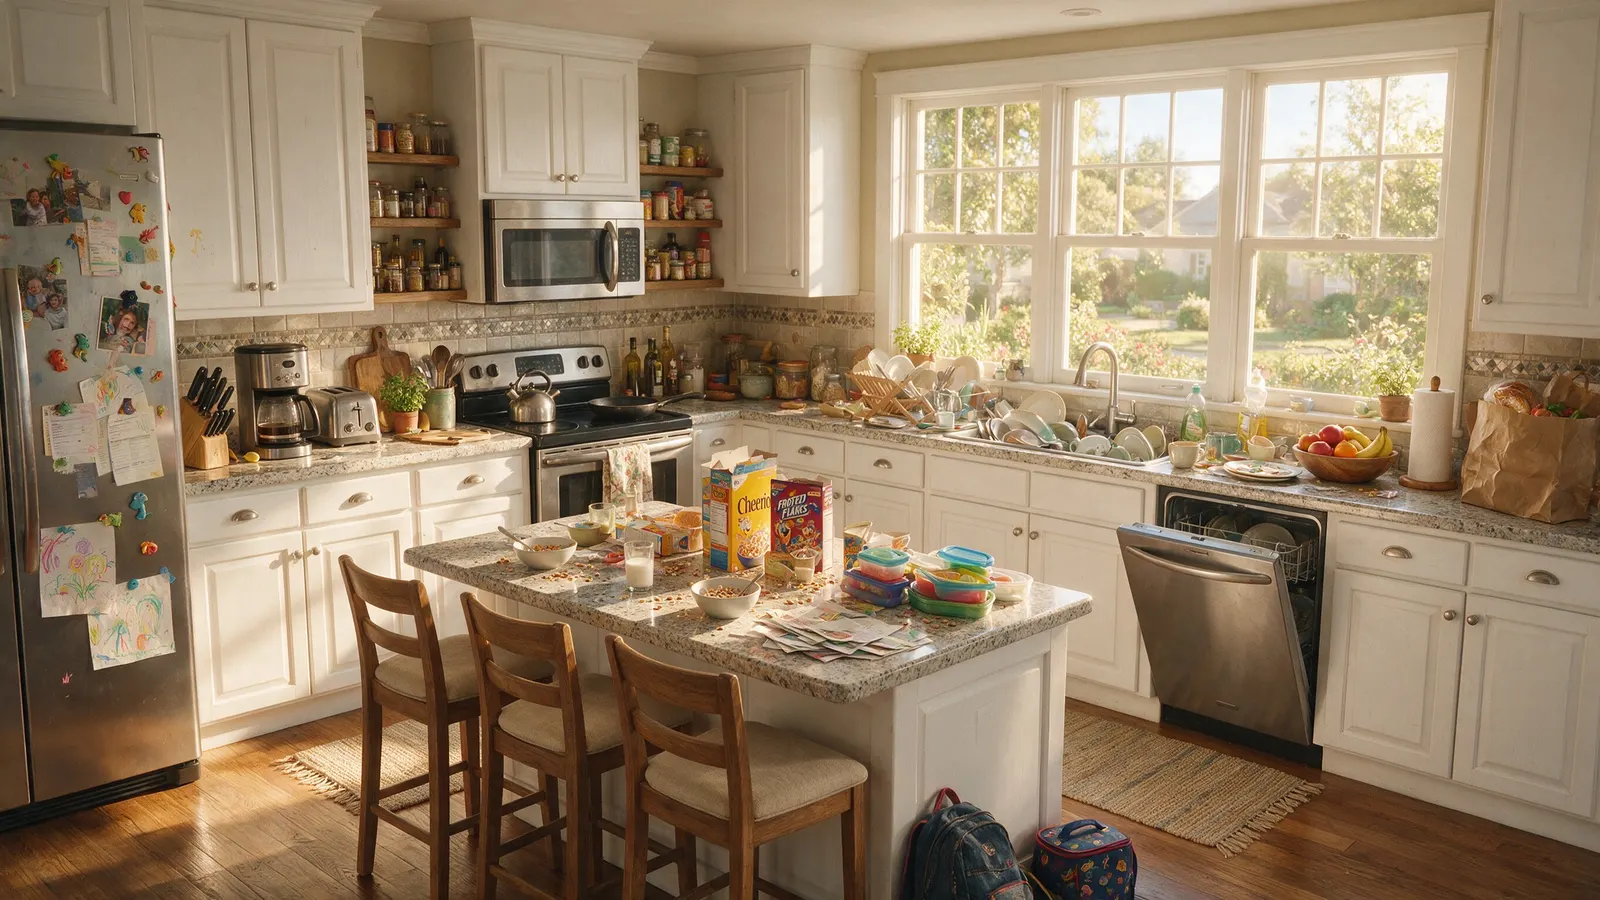
After declutter: Worktops cleared without touching the kitchen itself.After
Before: Worktops cleared without touching the kitchen itself.Before
Declutter2c

Worktops cleared without touching the kitchen itself.

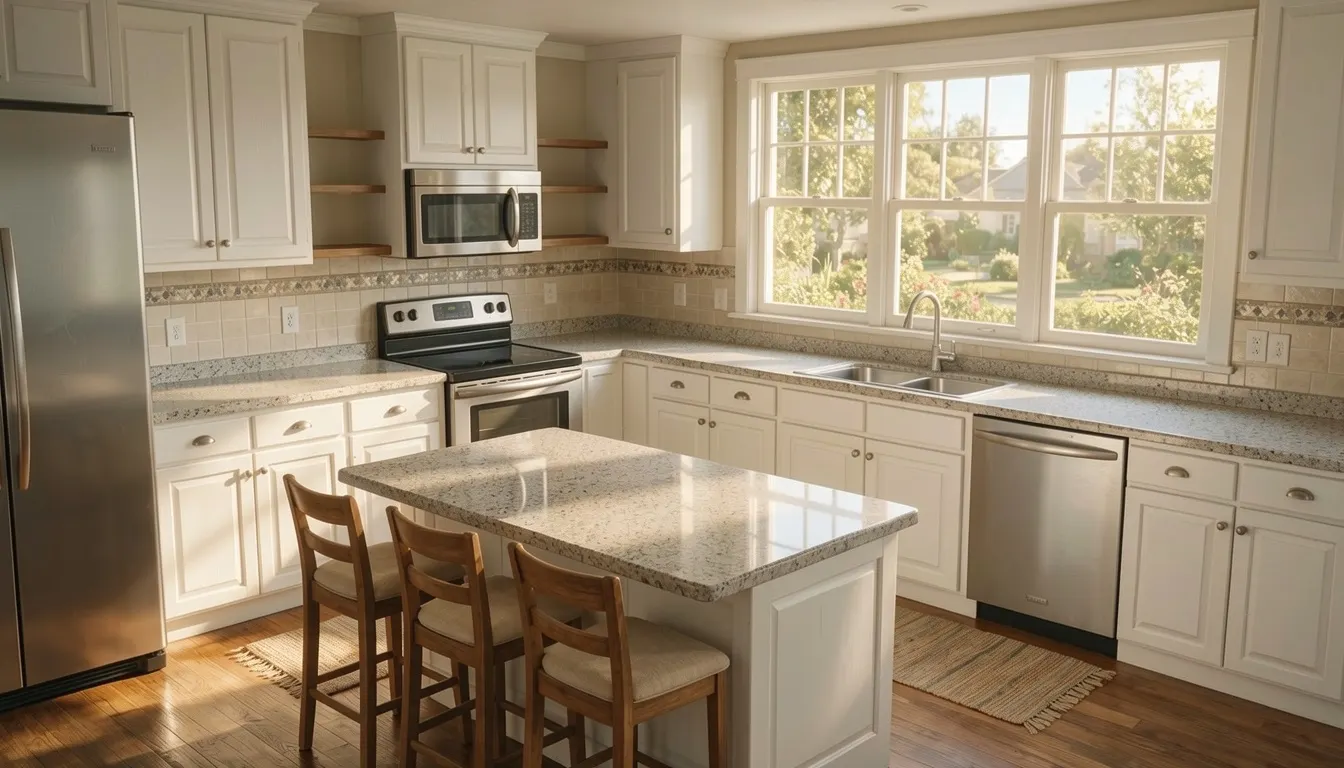
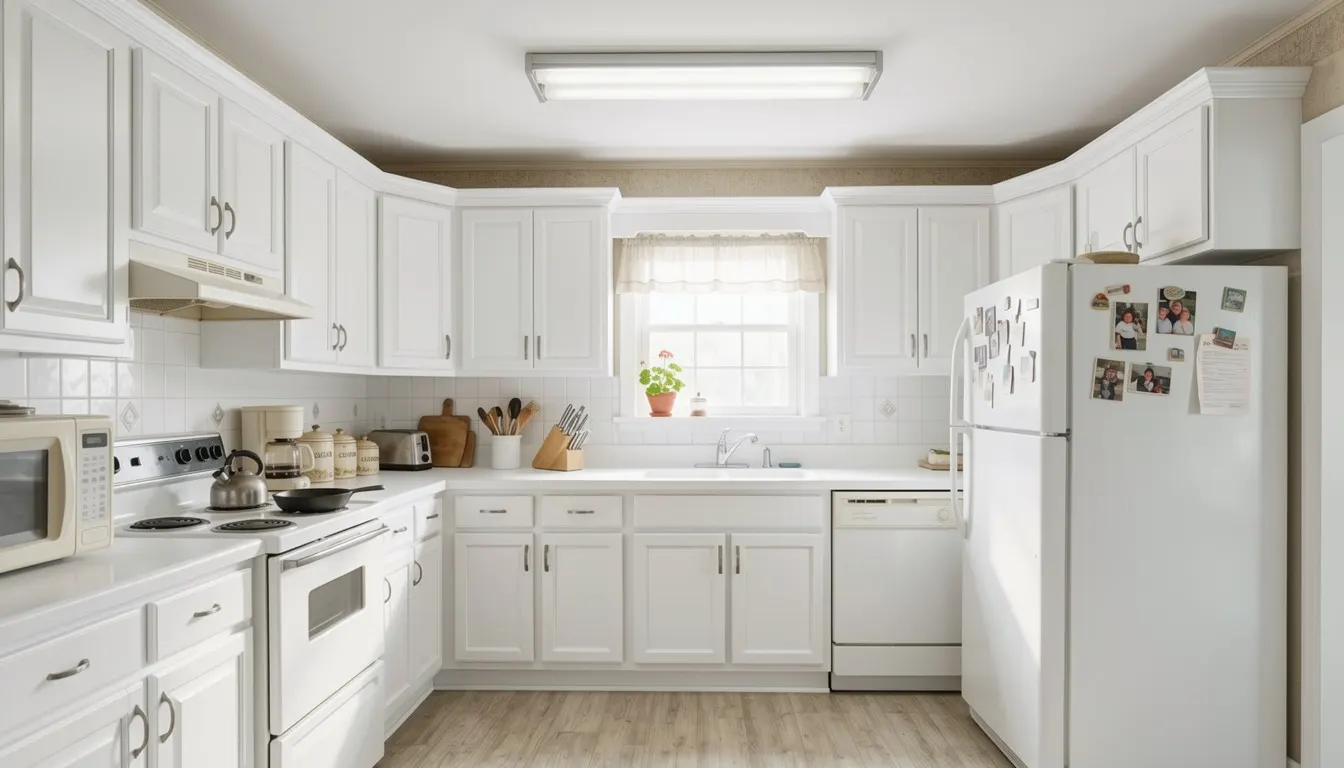
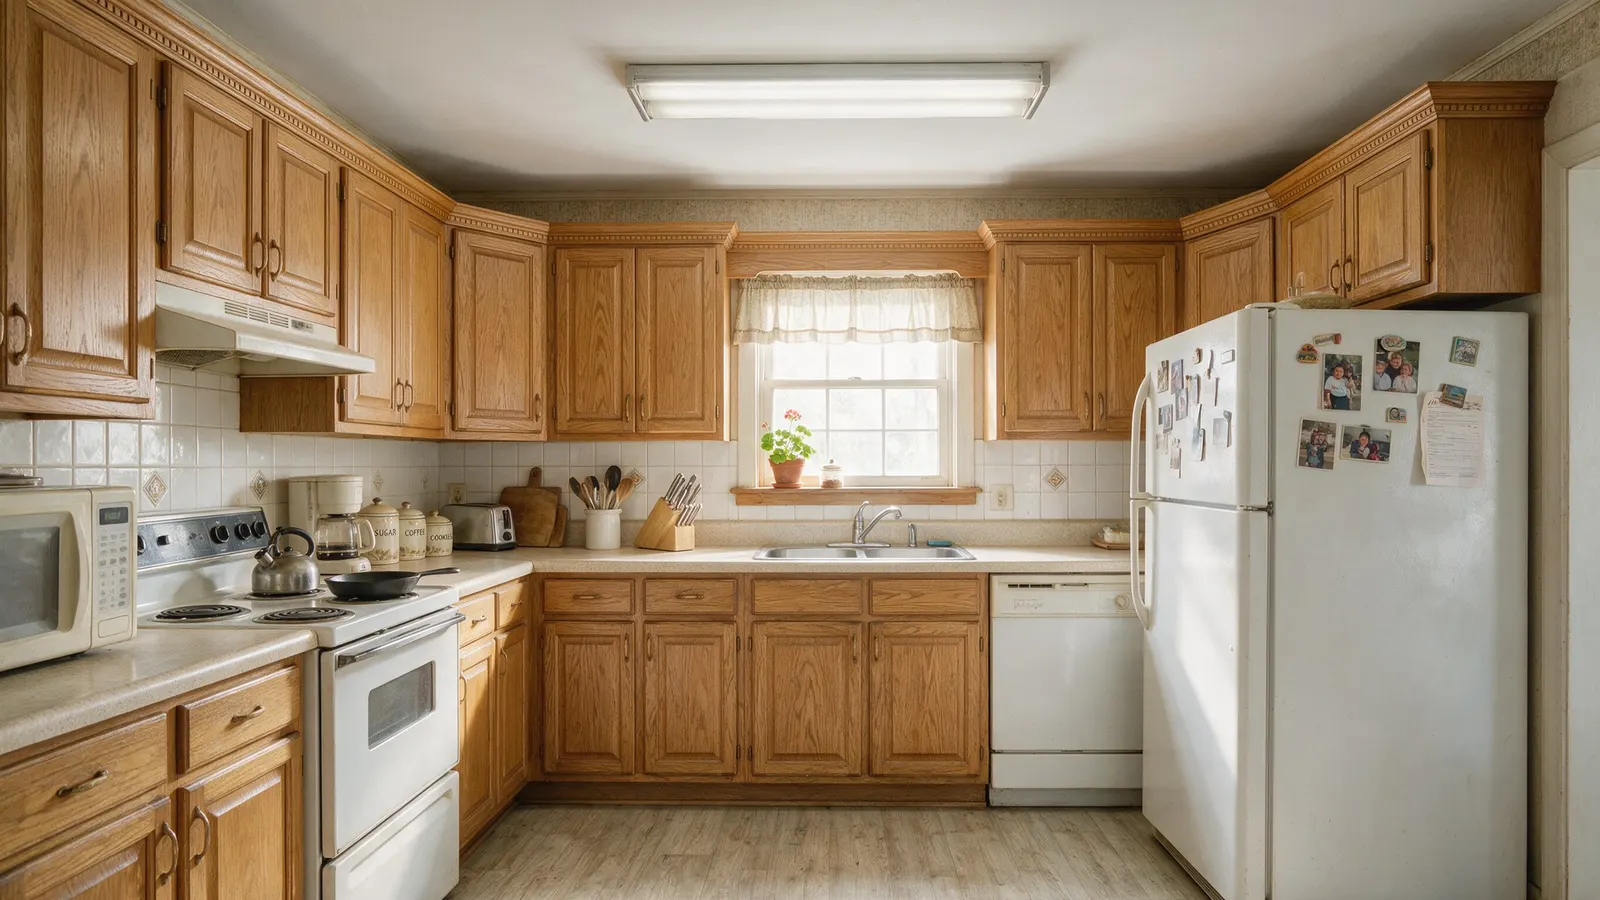
After kitchen remodel: Doors, worktops and hardware only — every unit and appliance exactly where it was.After
Before: Doors, worktops and hardware only — every unit and appliance exactly where it was.Before
Kitchen Remodel2c

Doors, worktops and hardware only — every unit and appliance exactly where it was.

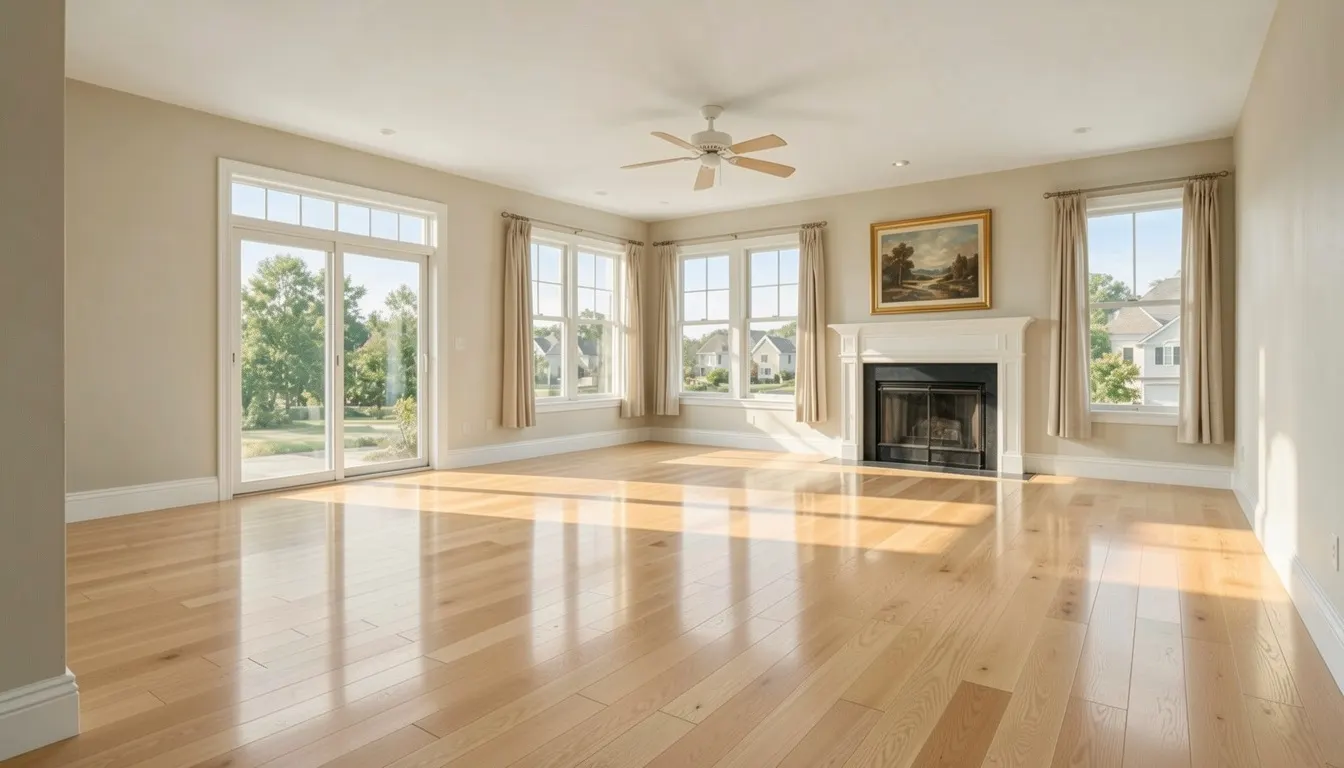
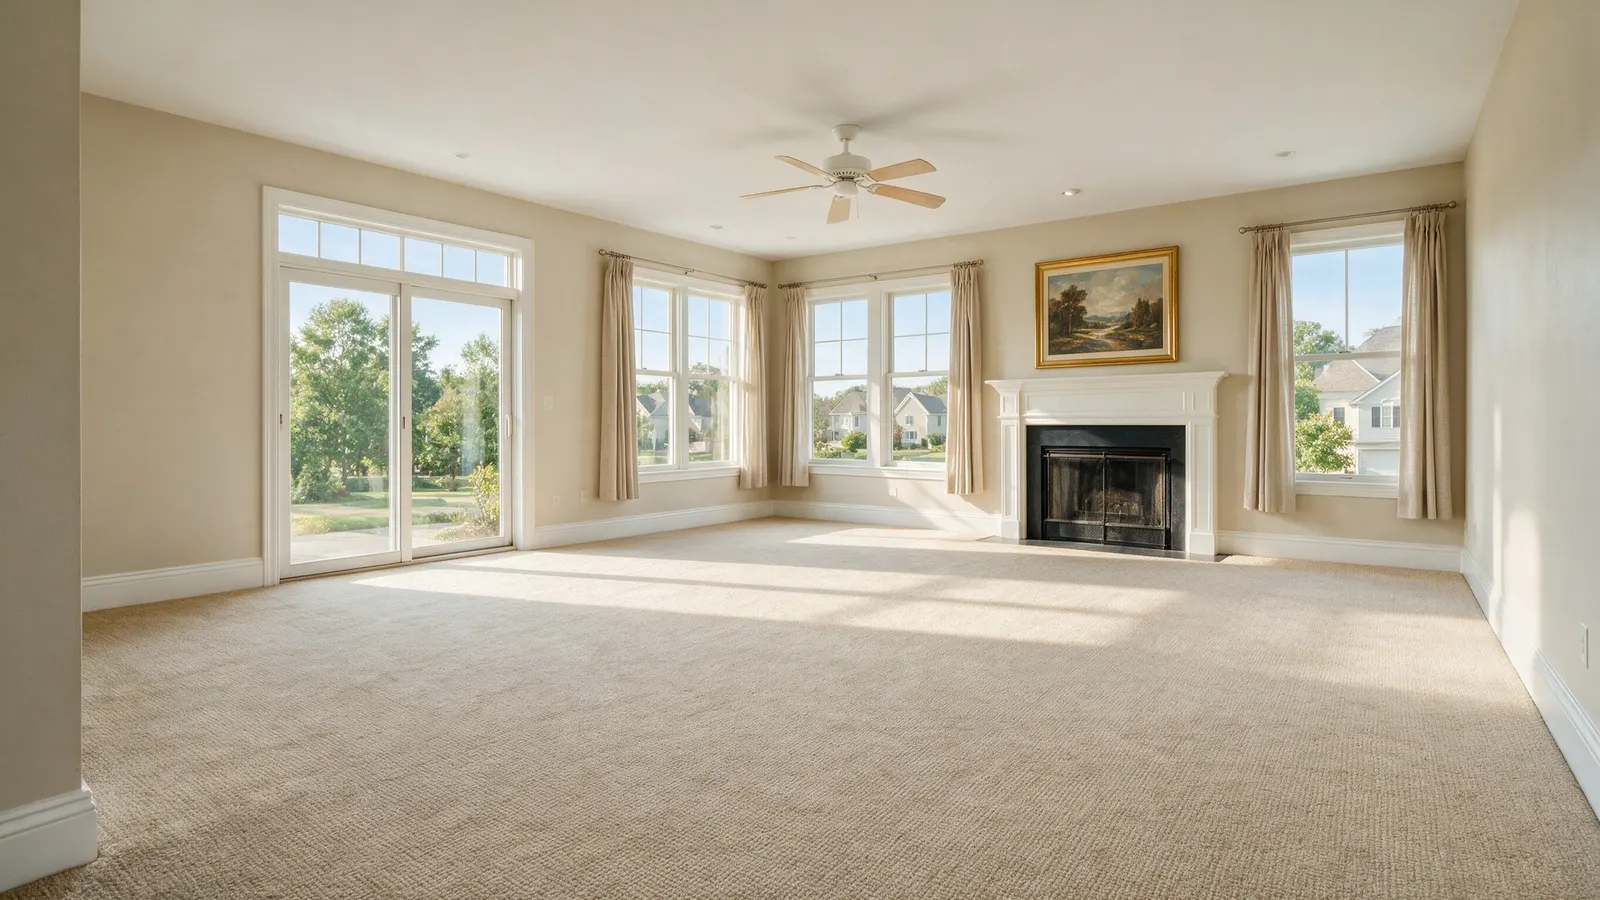
After floor replacement: New flooring, laid in the room's own perspective.After
Before: New flooring, laid in the room's own perspective.Before
Floor Replacement2c

New flooring, laid in the room's own perspective.

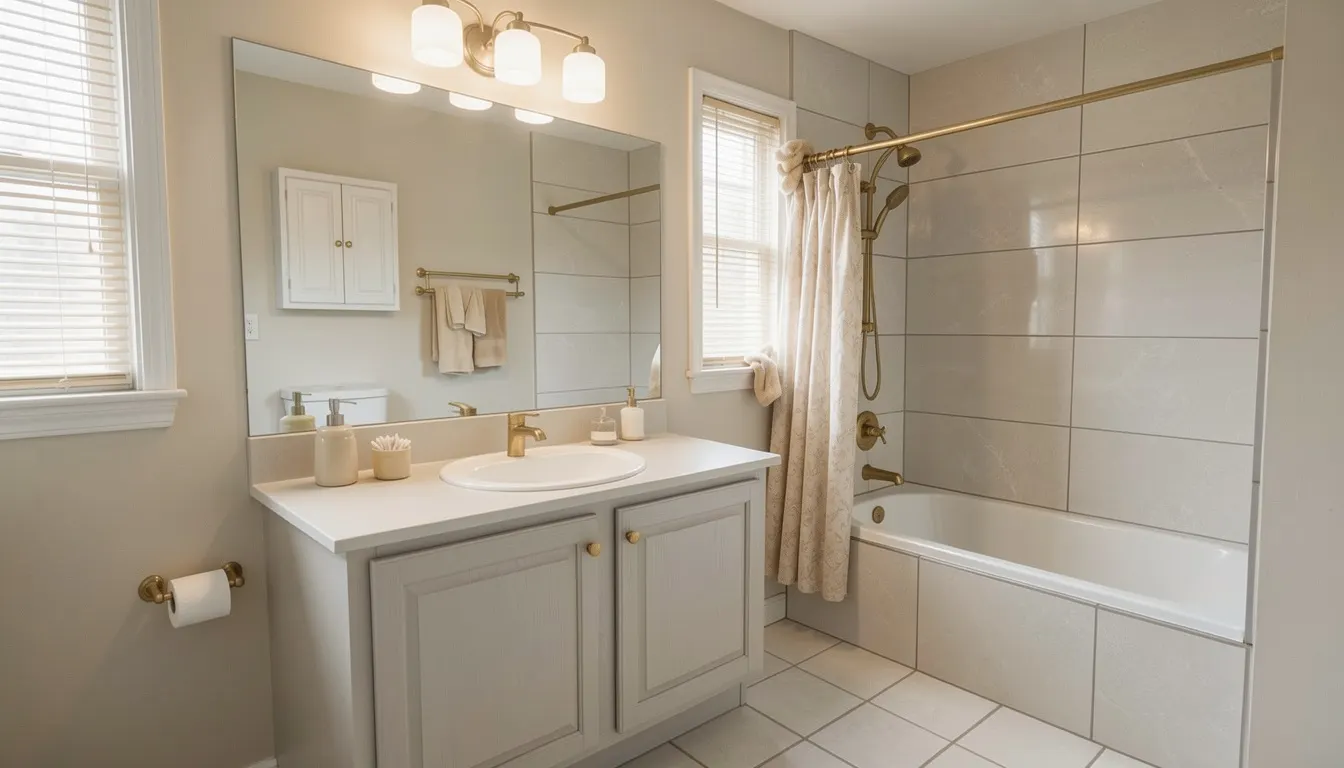
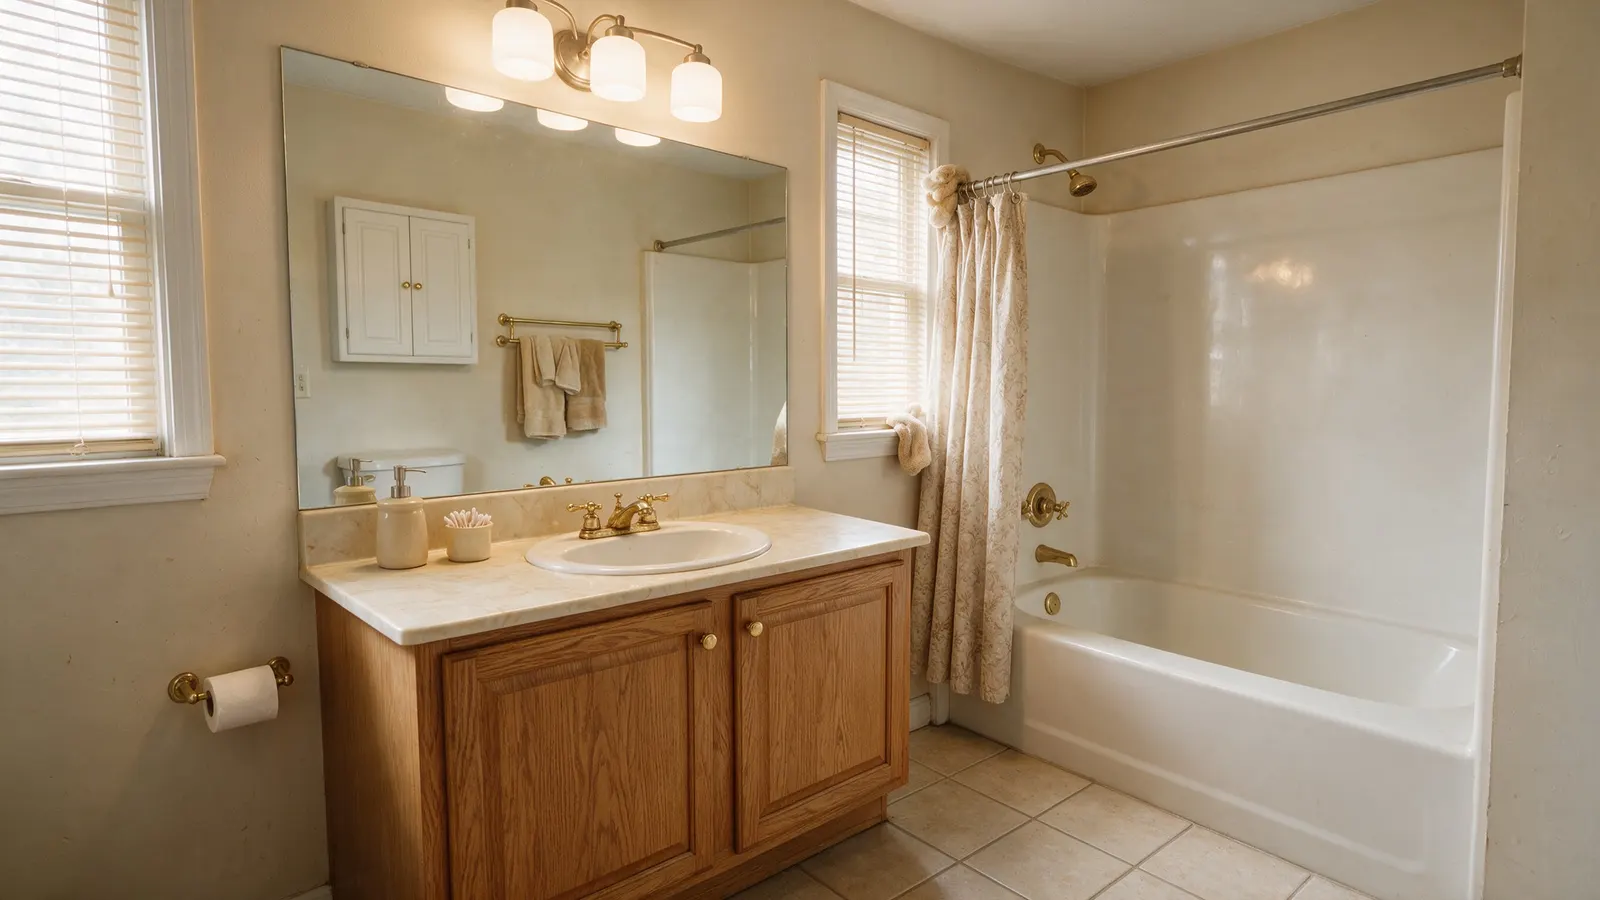
After bathroom remodel: Retiled and refinished around the bath that is already there.After
Before: Retiled and refinished around the bath that is already there.Before
Bathroom Remodel2c

Retiled and refinished around the bath that is already there.

After different angle: The same room from thirty degrees to the right — a camera position nobody stood in.After
Before: The same room from thirty degrees to the right — a camera position nobody stood in.Before
Different Angle6c

The same room from thirty degrees to the right — a camera position nobody stood in.

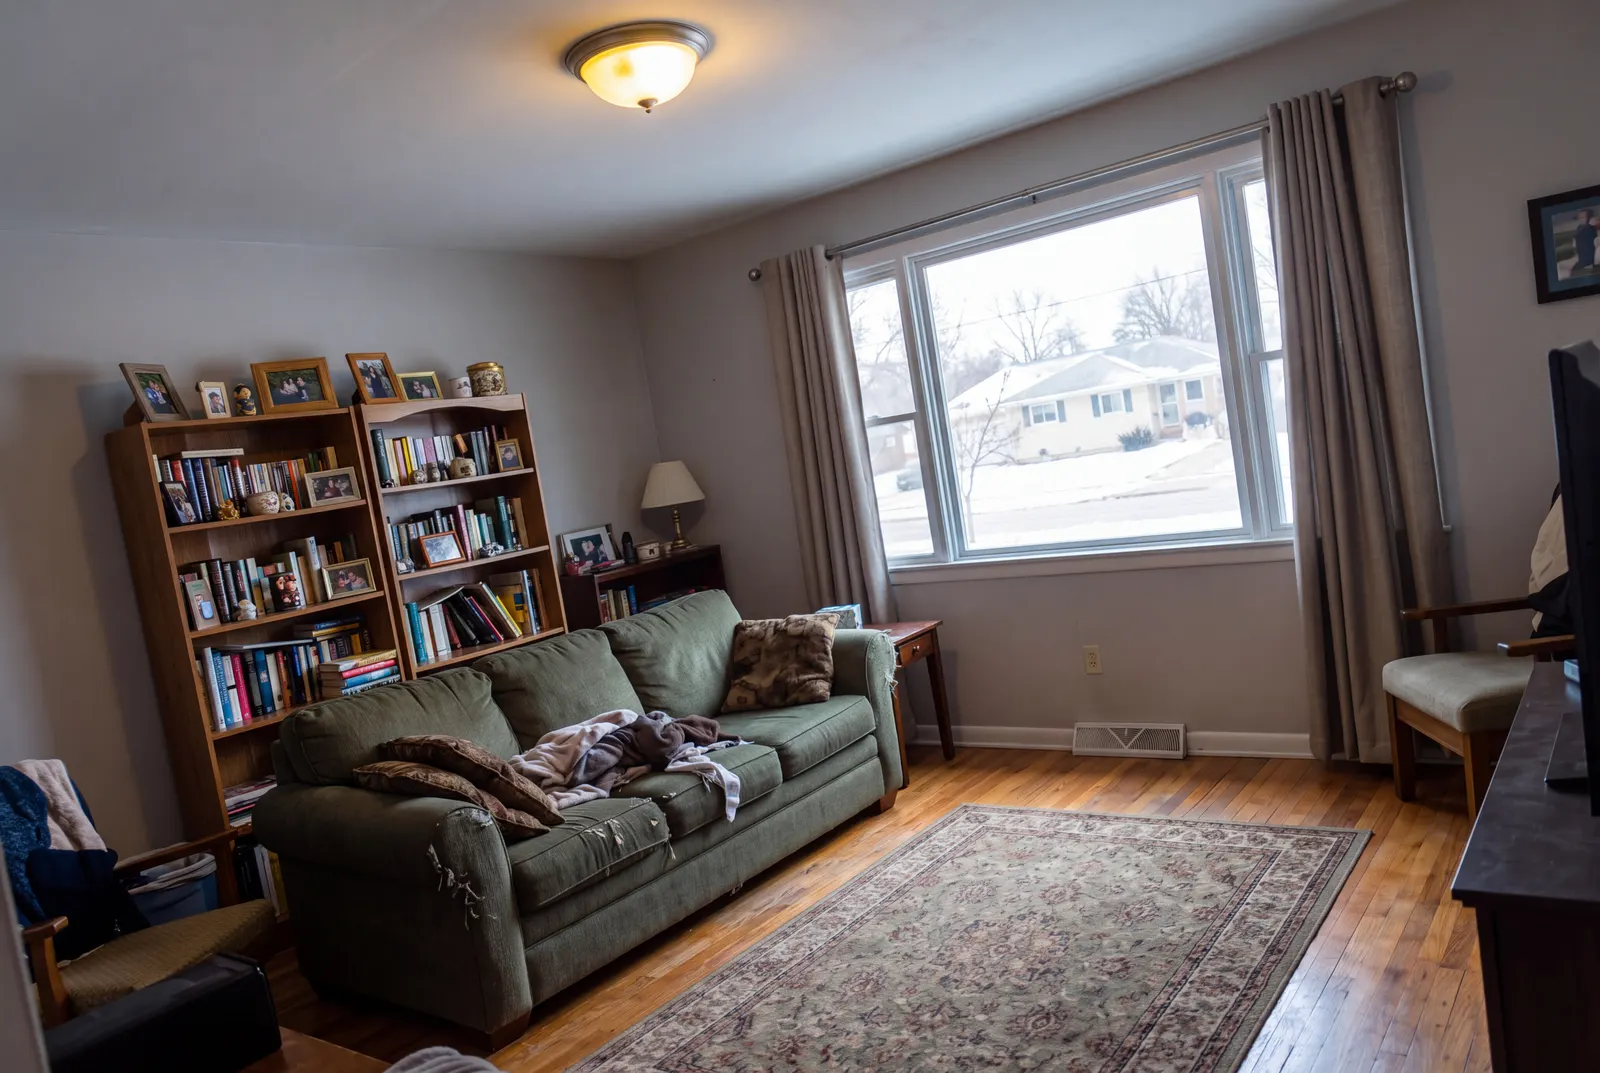
After professional quality: A crooked, badly-lit phone photograph, re-shot at 4K. Nothing in the room moved.After
Before: A crooked, badly-lit phone photograph, re-shot at 4K. Nothing in the room moved.Before
Professional Quality7c

A crooked, badly-lit phone photograph, re-shot at 4K. Nothing in the room moved.

After sketch to render: A line drawing, rendered — proportions held to the drawing.After
Before: A line drawing, rendered — proportions held to the drawing.Before
Sketch to Render3c

A line drawing, rendered — proportions held to the drawing.

Start to finish

Three ways in, all the way through.

Every frame below came out of this product, in the order it was made. Nothing here is a diagram of how it works — it is the work.

From a room you already photographed

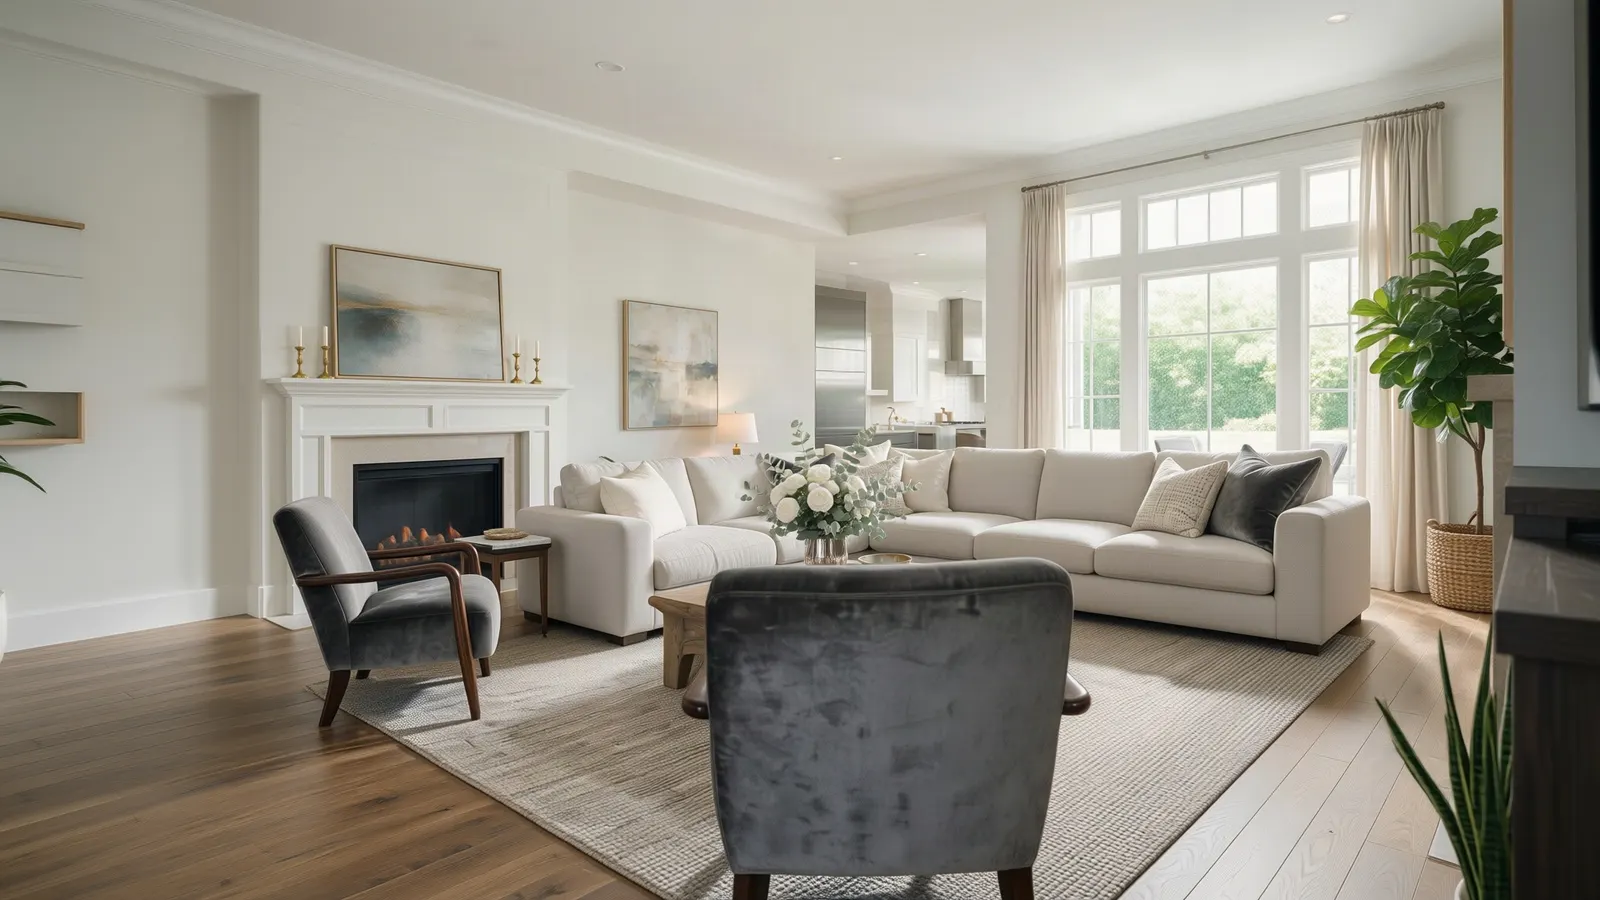
The commonest job in the product, and the fastest: an empty room, furnished, with the walls and windows exactly where the camera found them.
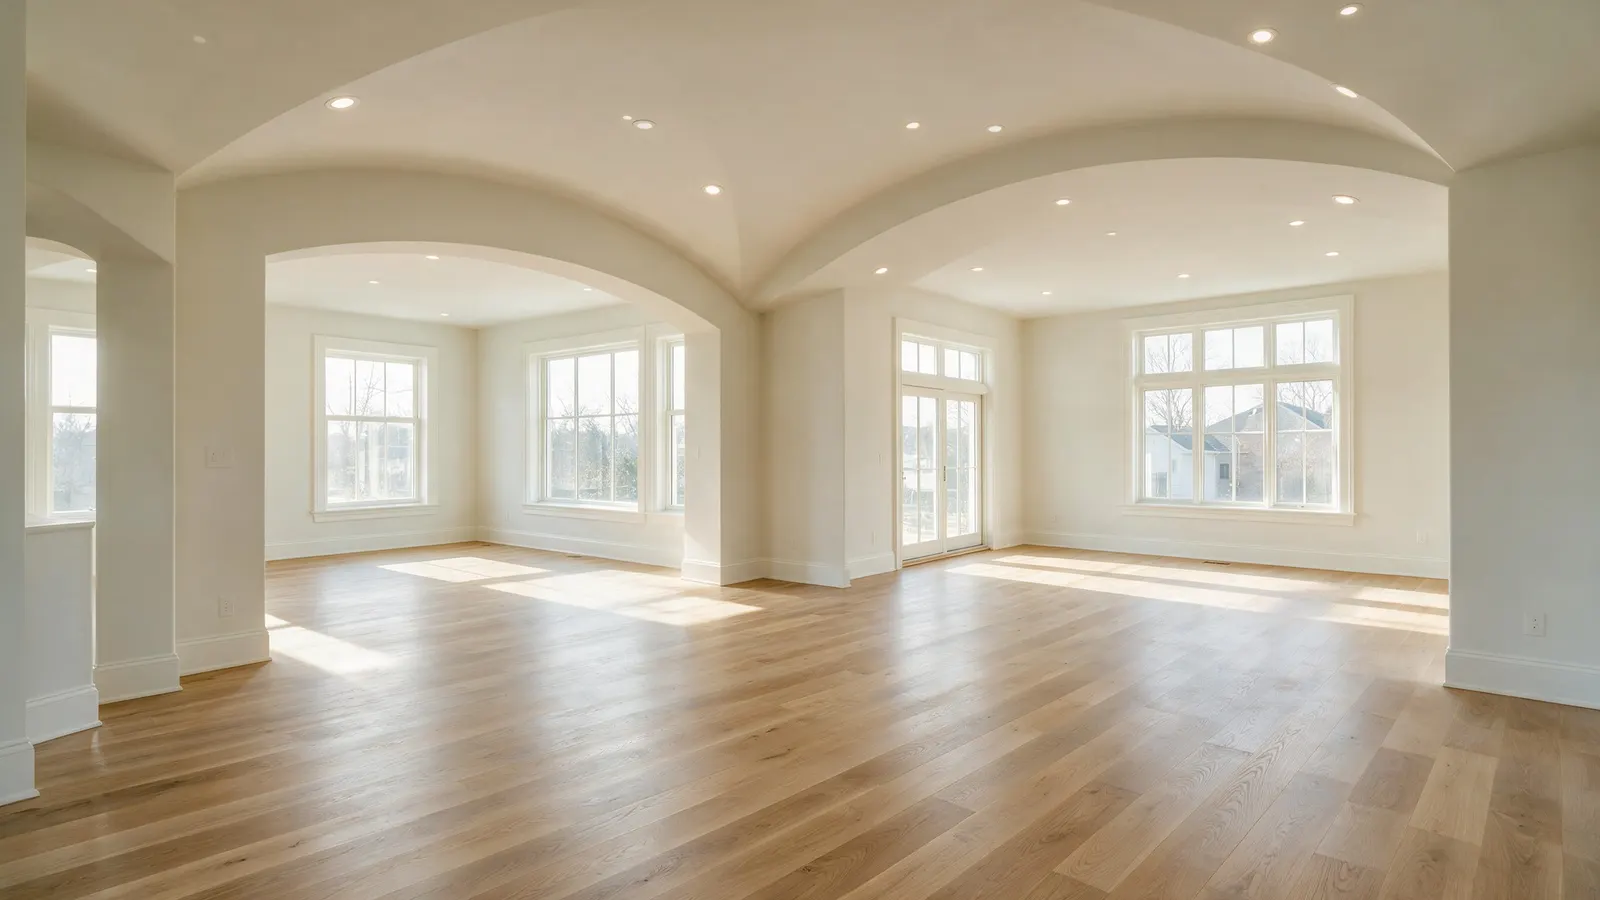
  1. Before: An empty living room, furnished at 4K. Walls, windows and camera untouched.
    1The photograph
  2. Virtual Staging: An empty living room, furnished at 4K. Walls, windows and camera untouched.
    2Staged8c

Then a walkthrough clip, if the listing wants one.

From a drawing

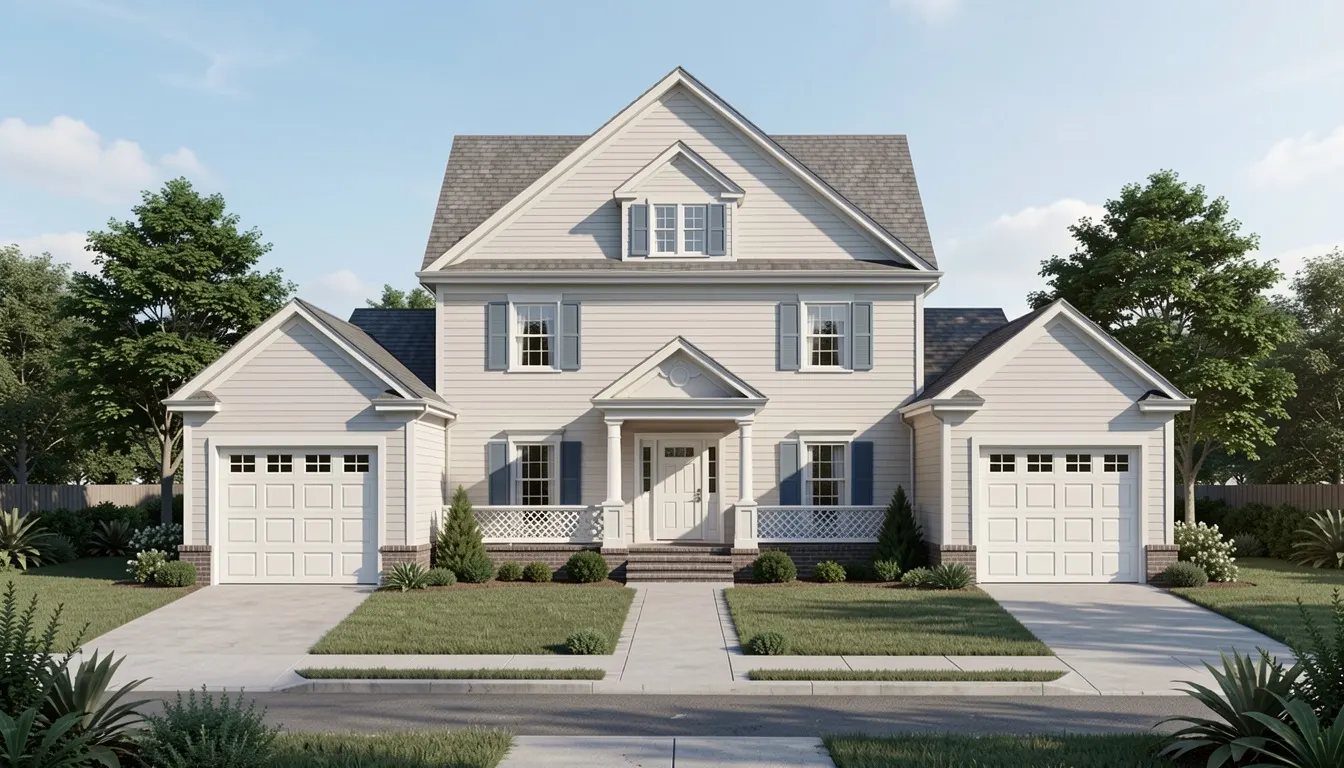
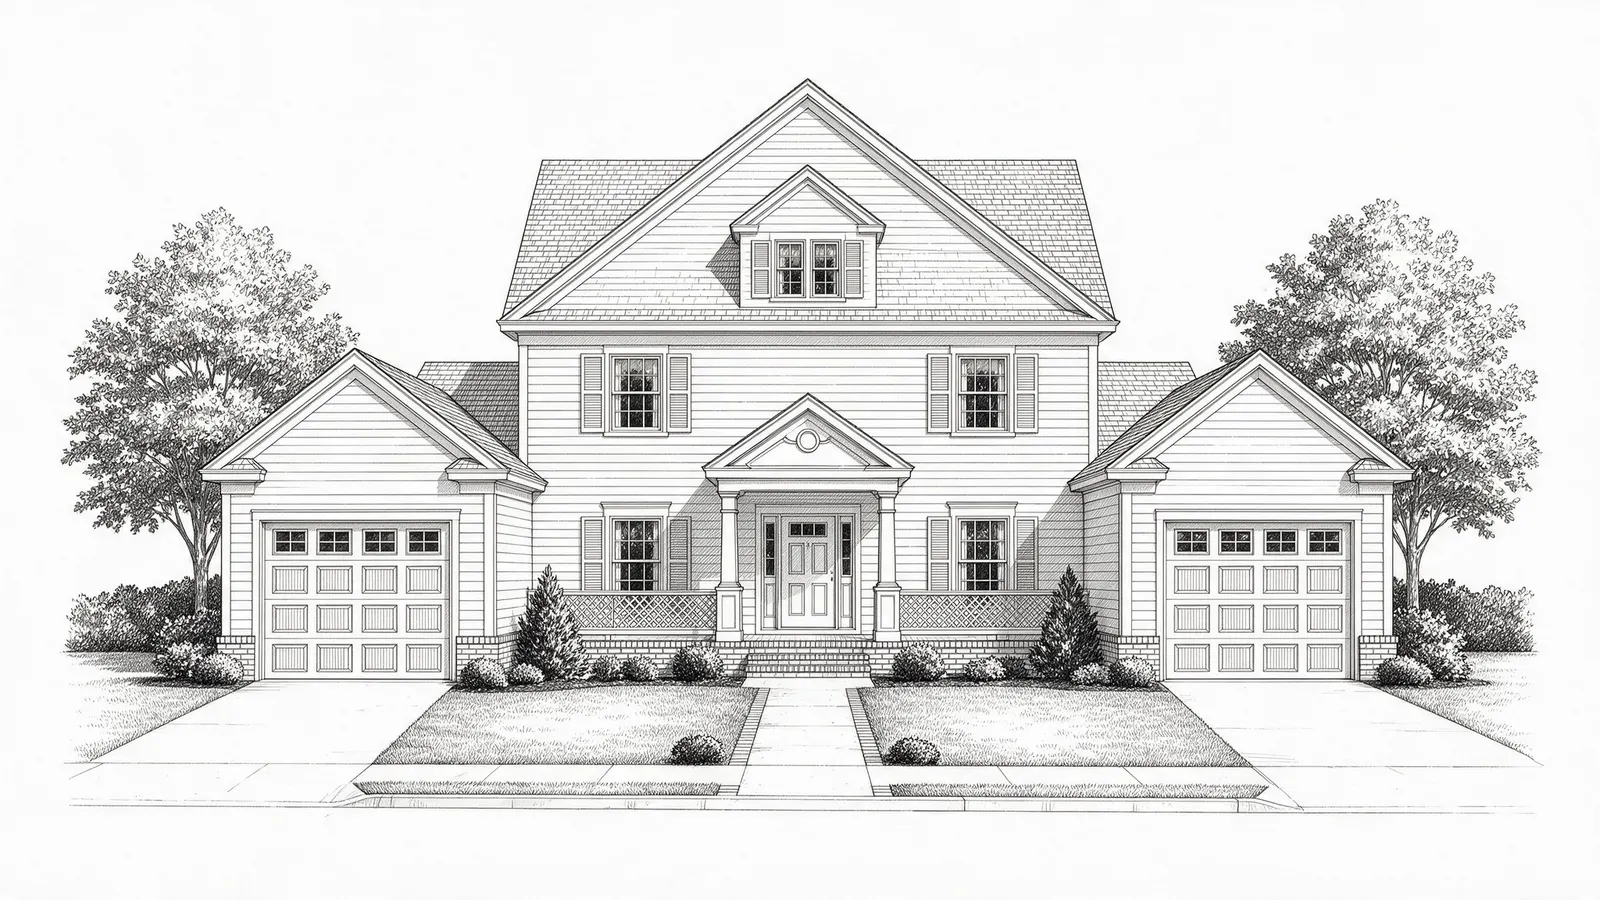
An elevation becomes a building at true scale — every wall line, opening and proportion held exactly as drawn.

  1. Before: A line drawing, rendered — proportions held to the drawing.
    1The elevation
  2. Sketch to Render: A line drawing, rendered — proportions held to the drawing.
    2Rendered3c

Empty to furnished

Scroll, and the room fills.

The same empty room every listing starts with, and the furniture arriving in it. Scroll back and it leaves again — this is the change itself rather than a before and an after with the change cut out.

Produced with the walkthrough operation from a still of the empty room

How it works

Four steps, no site visit.

  1. 01

    Upload the photograph

    A straight-on shot from a phone is enough. No 3D model, no measurements, no site visit.

  2. 02

    Choose the operation

    Stage an empty room, strip the furniture, repaint, re-floor, remodel a kitchen. 31 operations, each tuned to its subject.

  3. 03

    Set the direction

    Room type, design style, materials, finish. Add reference images when a client has a particular look in mind.

  4. 04

    Deliver

    Download at print resolution, share a link, or turn the still into a cinematic walkthrough clip.

Capabilities

31 operations, tuned for property and design work.

Each one is a purpose-built instruction set, not a general-purpose image model with a different prompt pasted in front of it.

New build

Start from bare ground: design a house for an empty plot, then walk through its rooms from your architect’s plan, before anything is built.

Coverage

Every room, every language.

Room types

  • living room
  • bedroom
  • kitchen
  • bathroom
  • dining room
  • home office
  • nursery
  • basement
  • patio
  • studio
  • office
  • meeting room
  • reception
  • cafe
  • restaurant
  • retail store
  • salon
  • gym
  • hotel room

Design styles

  • modern
  • minimalist
  • scandinavian
  • japandi
  • mid-century modern
  • industrial
  • transitional
  • classical
  • art deco
  • baroque
  • avant-garde
  • retro
  • bohemian
  • rustic
  • farmhouse
  • coastal
  • mediterranean

From the drawing board

A pencil line, then a photograph of it, then a film.

One project, all the way through — the architect’s own sketch, the render it became, and the walkthrough cut from that render. The camera never moves between them, so you can hold your eye on a single roof line and watch it turn into a building.

An ink and watercolour perspective sketch of a two-storey concrete and timber house, annotated with the words balance, simplicity, natural materials, strong connection with nature and timeless.
The drawingPress a step

Architect’s own sketch; render and film produced with the sketch-to-render and walkthrough operations

Motion

A still becomes a walkthrough.

One photograph, and the camera travels through the room it shows — while the ceiling, the joinery and the light stay exactly where the still put them. Six moves, three to fifteen seconds, or three of them cut together into one tour.

  • Push inA slow dolly toward the far wall
  • Pull backOpens from a detail onto the whole room
  • Pan left / rightA steady sweep across, at one speed
  • OrbitA gentle arc around the centre of the room
  • HoldThe light moves; the camera does not
  • A single push through a staged interior, rendered from one still.
  • Three camera moves through one staged living room, cut into a single tour.

Produced with the walkthrough operation from stills of the staged rooms

How it holds up

The architecture stays where it is.

Image models drift. They move walls, invent windows and shift the camera — which for a property listing is not a cosmetic bug but a legal one. Every operation inherits a constraint set that pins structure, perspective and light before anything else is allowed to change.

Structure locked

Wall positions, ceiling height, window and door placement and camera perspective are preserved on every edit.

Physically plausible light

New furniture and surfaces respond to the room’s existing light sources and cast accurate shadows.

Versioned prompts

Every generation records the exact template and version that produced it, so any result can be explained or reproduced later.

Model-independent

The AI layer sits behind a capability interface. Models improve constantly; swapping to a better one does not change your workflow.

On site

Built for the phone in your hand at a viewing.

Not a shrunken desktop. A dedicated mobile experience with its own navigation, gesture handling and layouts — photograph a room on site and have it staged before you leave the property.

  • Capture straight from the camera
  • Bottom-sheet controls built for one thumb
  • Swipe to compare before and after
  • Jobs continue if you close the app

Native apps coming soon

What holds

Four things the product guarantees, not four things we say.

The architecture stays put

Every template carries a constraint block pinning walls, windows and camera. It is versioned, and recorded on the job.

Staging disclosure, built in

Listing copy carries the right disclosure line for the work that was actually done — staged, or merely enhanced.

Never training data

Your uploads and results train no model, ours or a vendor’s. That is a contractual term, not a preference.

Credits follow delivery

Credits are reserved before a render and returned on every path that does not deliver one. Failures cost nothing.

Security & privacy

Your client’s property is not our training data.

Never used for training

Uploads and generated results are yours. They are not used to train any model, ours or a vendor’s.

Private by default

Every image is scoped to your account at the database level. Sharing is explicit, per-item, and revocable.

Encrypted throughout

TLS in transit, encrypted at rest, served through expiring signed URLs rather than public links.

You can delete it

Remove an image or your whole account, and the underlying files go with it.

Pricing

Pay for renders, not seats.

Every plan includes a monthly credit allowance. One image operation costs 2 credits; video is priced per second. Unused credits roll over on paid plans.

Free

Free

10 credits each month

  • ~5 image operations
  • 1 project
  • 1 concurrent generation
Start free
Most chosen

Studio

$29/month

400 credits each month

  • ~200 image operations
  • 25 projects
  • 3 concurrent generations
  • Credits roll over
Choose Studio

Practice

$79/month

1,400 credits each month

  • ~700 image operations
  • Unlimited projects
  • 6 concurrent generations
  • Credits roll over
  • White-label exports
Choose Practice

Agency

$199/month

4,000 credits each month

  • ~2,000 image operations
  • Unlimited projects
  • 12 concurrent generations
  • Credits roll over
  • White-label exports
Choose Agency

Need more mid-month? Credit packs never expire.

  • 100 for $12
  • 300 for $32
  • 1,000 for $95

Questions

Before you start.

No. A single photograph is enough — a straight-on shot from a phone works. There is nothing to model, measure or upload beyond the image itself.

Every room, at its best.

Keep the architecture. Change everything else.

Start with a photograph you already have. One upload is enough to see whether this works on your kind of room.

Start free

Free plan included. No card required.